Editing historical sensor data in Home Assistant with SQLite web#
The problem: Correcting bad sensor data#
A problem that can occur when using sensors in Home Assistant is that they might have a bad reading, or alternatively for sensors relying on manual input, one could make a typo when entering the data. When this happens, I’d like to be able to (manually) edit or remove these erroneous values as it throws of history graphs and any analysis that is done on the data.
Ideally, I’d simply click the history graph of a sensor and be able to select a value and click “modify”, maybe with some safety warning. However, as described in this discussion on the home assistant forums, this is not straightforward. A solution exists in the UI for statistics by clicking a ramp icon, but it’s not clear to me when it does and does not show up and certainly doesn’t show for the particular bad sensor I am dealing with right now.
The solution: Editing the database directly#
After browsing through countless forum posts, I have converged on the solution of directly editing the database of Home Assistant. Although that sounds straightforward, I ran into some problems as a Home Assistant novice. Below I describe how to access the (SQLite) database, find what value to modify, and then make the change and verify that it worked.
Warning
Make a backup of your Home Assistant instance before you try.
Although this is what worked for me, the moment one starts modifying the database directly there is the risk of database corruption or simply deleting certain entries that were required for your installation to function. Try at your own risk.
Accessing the database#
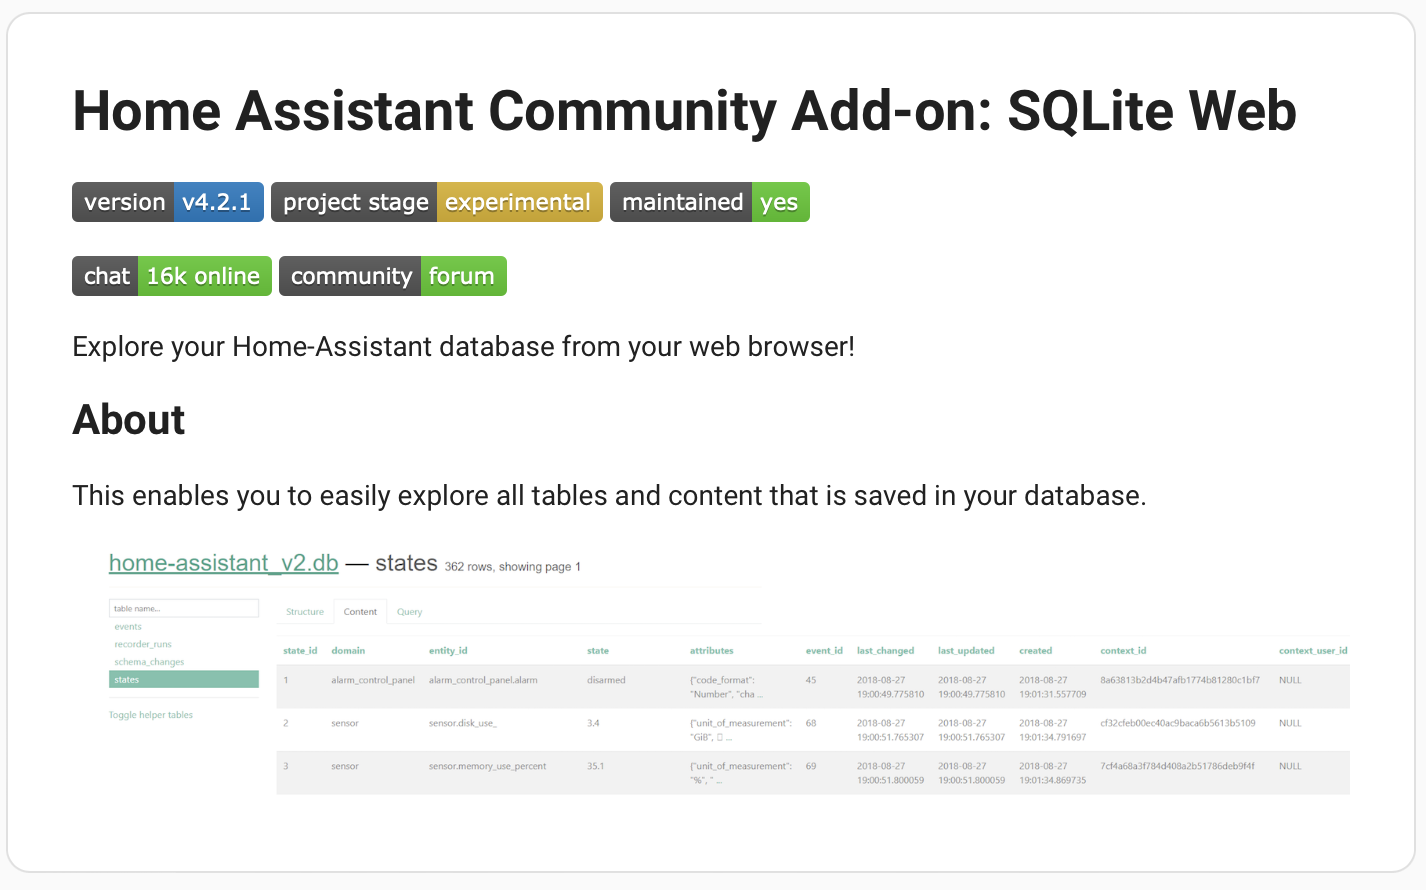
SQLite_Web add on for Home Assistant.#
The first approach I tried was exposing the files on my Home Assitant using Samba Share and then accessing the database (/homeassistant/home-assistant_v2.db) using SQLiteBrowser.
Althought this should work, I ran into access rights problems.
This could probably be resolved, but I’d rather not mess with these things and risk corrupting my database.
While looking for a solution to the access rights issue, I found the SQLite Web add-on.
Install the add-on as usual, and the open the web UI.
Identifying the right entries#
The next challenge was to find the right entries to the database to modify. Luckily, the SQLite add-on has a web UI to browse through the data.
We will need to modify both the states, which cover the direct sensor data, as well as the statistics which store aggregate statistics on the sensor data for longer time periods on an hourly basis.
Updating the state table#
The first thing to do is identifying the metadata_id of the sensor in states-meta.
You can do this by clicking on the “Content” tab and browsing through all the entries until you recognize your sensor, or by placing a query in the “Query” tab.
In my case, I am looking for a sensor that contains “weight” so I do the following query:
SELECT * FROM states_meta WHERE entity_id LIKE 'sensor.%weight'
This query selects all rows from states_meta where the entity_id column matches the patern. Here the % character is a wildcard.
Run this query to see what rows you can find and what the metadata_id is.
This is a good check to see if you have any typos in your query and are searching for the right thing.
We’ll need this for the next step.
If you get multiple results, you can refine the patern following LIKE to be more specific.
Next, we are will construct a query to find all data for the particular sensor, we will manually go over this table to find the spurious entry.
SELECT * FROM states_meta AS sm, states AS s
WHERE s.metadata_id=sm. metadata_id AND sm.entity_id = 'sensor.test_test_last_weight'
In this table, we are looking for the state_id, the state_id is the primary key of each row in the states table of the database and as such serves as a unique identifier for each record.
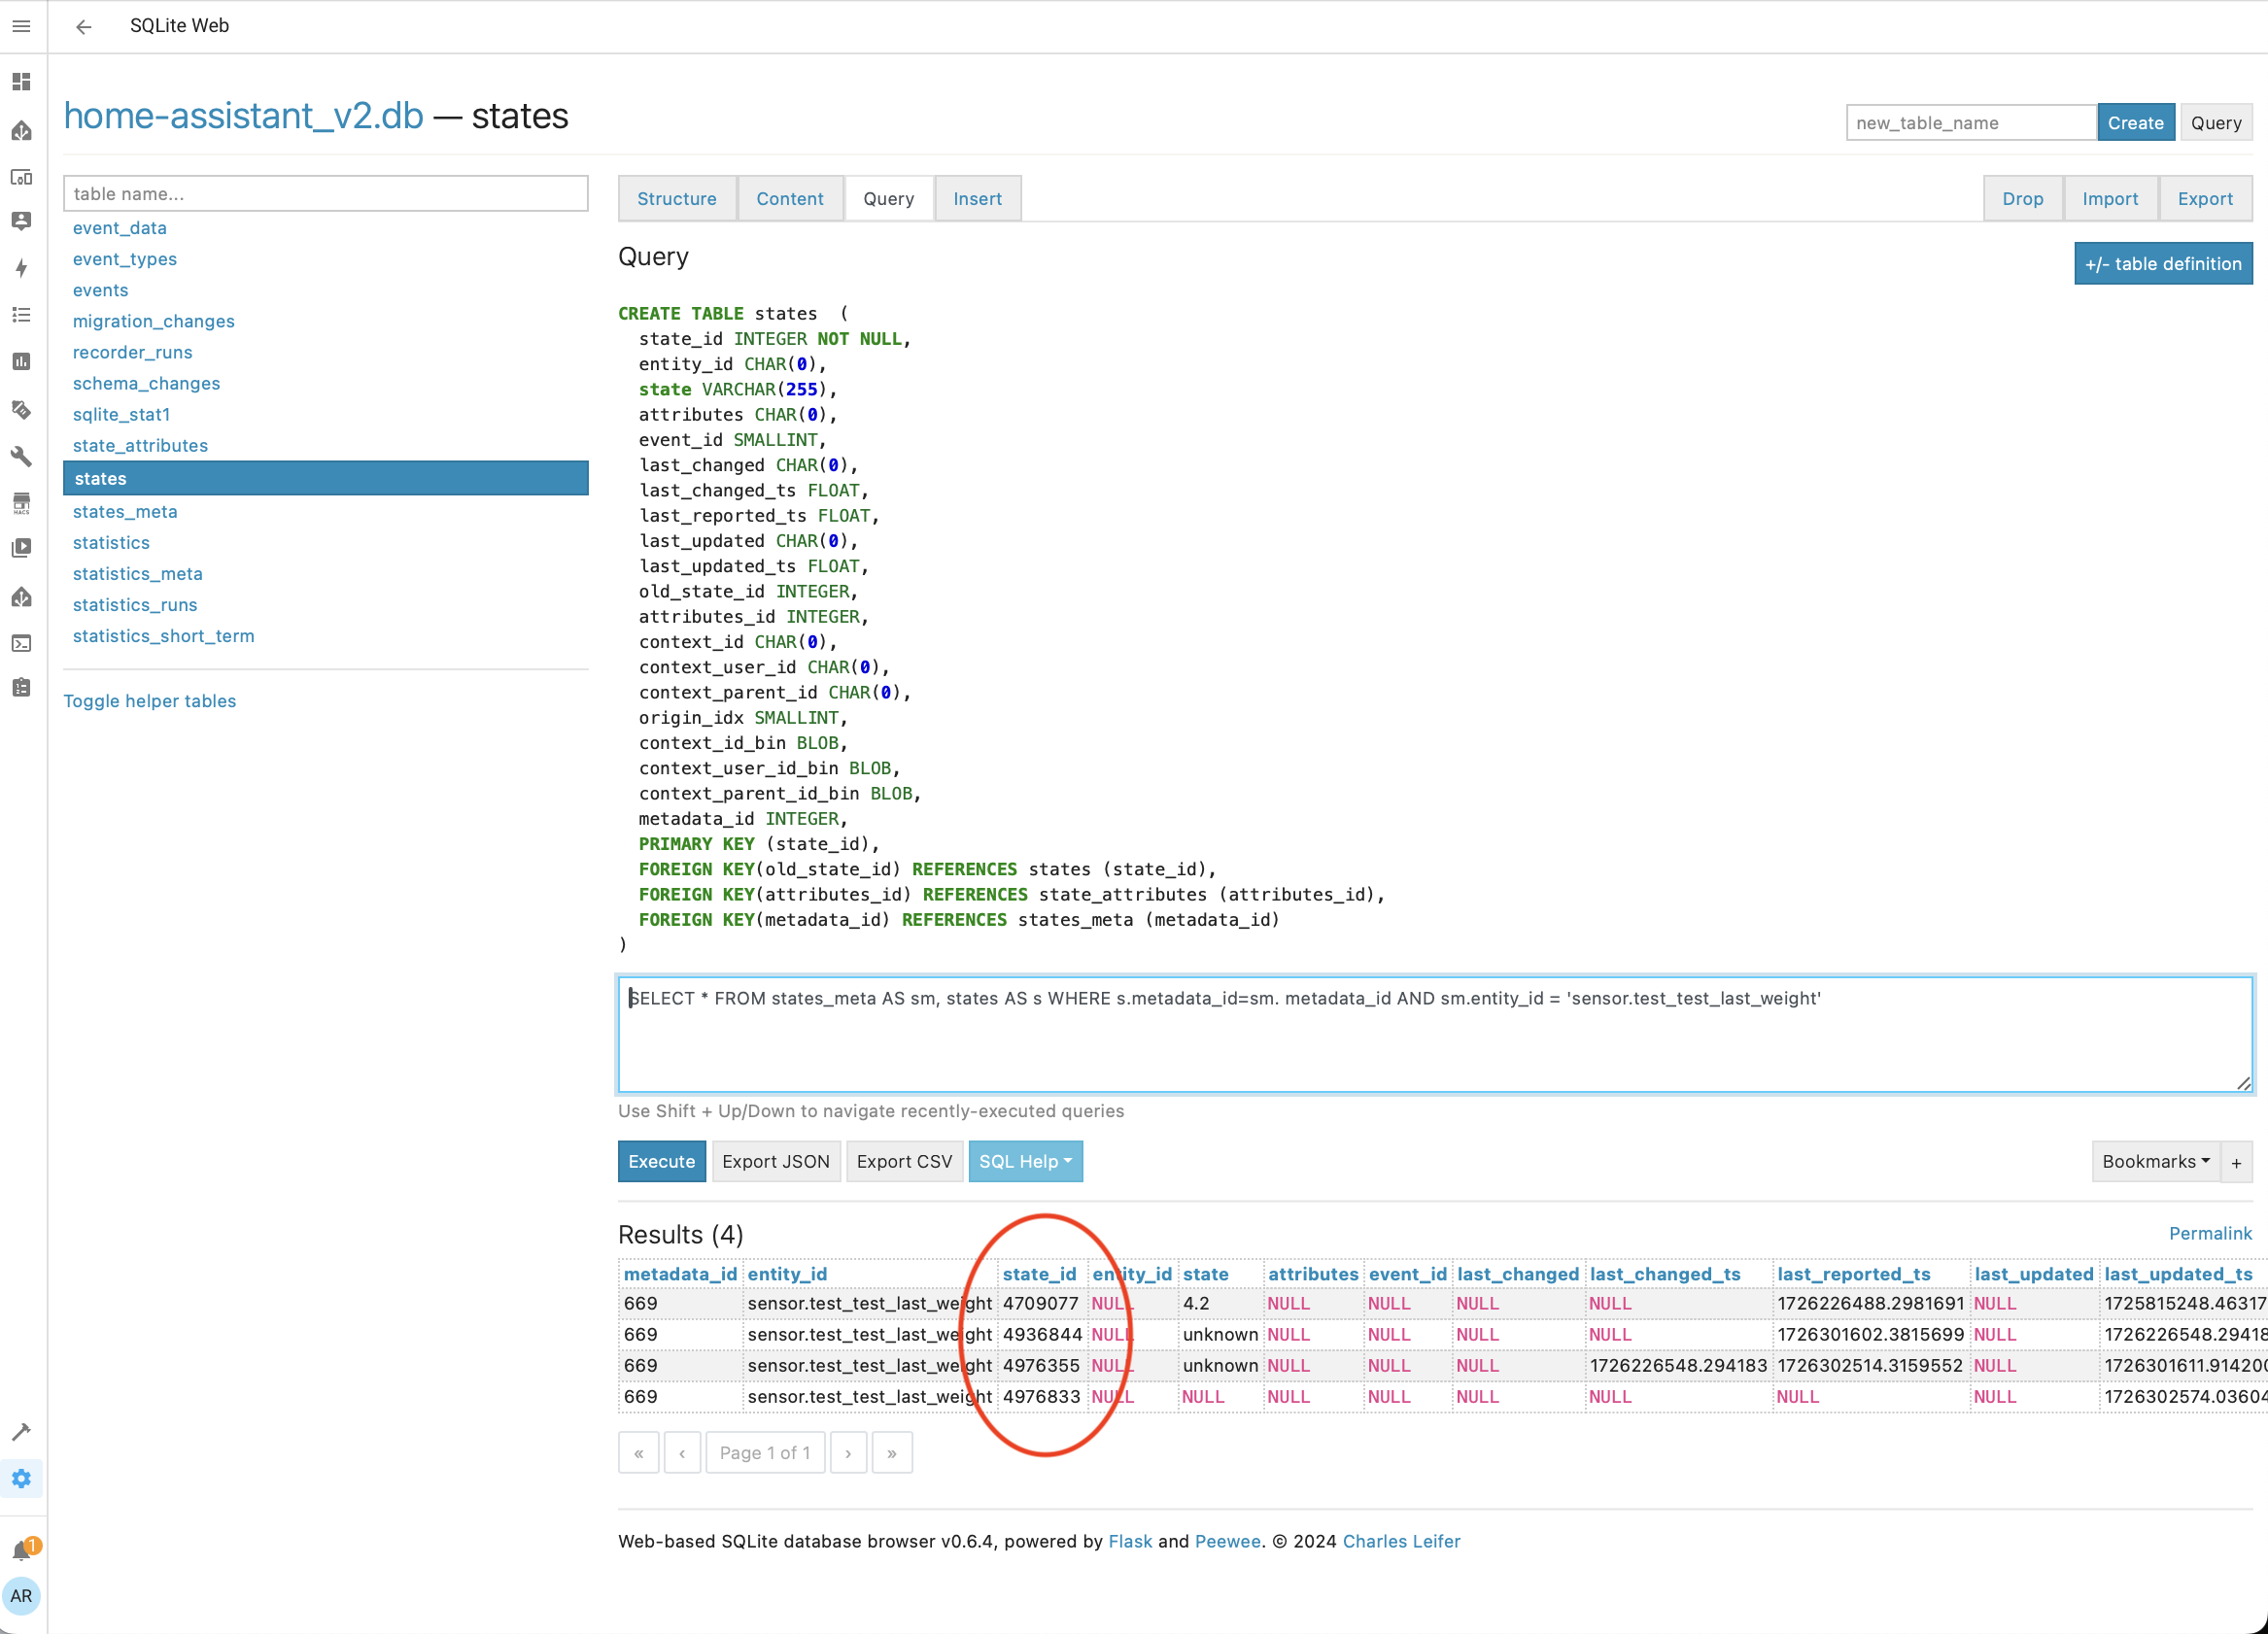
In this table we are looking for the column state_id#
We will now use this unique state_id to select the entry to modify.
First we read out the row to test if we got the right state_ID:
SELECT * FROM states
WHERE state_id= 4709077
Then we modify the state,
UPDATE states
set state = 2.865
where state_id= 4709077
and query it again to verify if it worked.
SELECT * FROM states
WHERE state_id= 4709077
Updating the statistics table#
The statistics table in the database is used to store statistics on the state (typically the average state for each hour) for longer periods of time. To update the statistics we’ll essentially be doing the same. However, as the statistics tab stores a value for every hour, we may need to edit data in batches. We’ll effectively take the same steps as before so we’ll go a bit faster here.
Identify the
statistic_idin thestatistics_metatable.Select the data with this
statistic_idin thestatisticstable.Update all values in a specific range.
(optional) Repeat the same steps for the
statistics_short_termtable.
The difference between the statistics and statistics-short-term is described here in the documentation.
Identify statistic_id#
SELECT * FROM "statistics_meta"
where statistic_id = "sensor.test_test_last_weight"
From the return value you want to check what the metadata_id is.
Select the data in the statics table.#
SELECT * FROM "statistics"
where metadata_id = 116 order by id desc
In the return you want to identify the range of ids that you want to modify.
Be sure to check if the value you are retrieving has the properties mean min and max, (if the state class is a measurement) or state (if the state class is total).
Update all values in a specific range#
UPDATE "statistics"
set mean = 2.865
where
metadata_id = 116 and id > 241732 and id <  244065
UPDATE "statistics"
set min = 2.865
where
metadata_id = 116 and id > 241733 and id <  244064
UPDATE "statistics"
set max = 2.865
where
metadata_id = 116 and id > 241733 and id <  244064
Repeat for statistics_short_term#
The same steps can be repeated for statistics short-term. The short-term statistics contain the statistics on a 5-min interval and are purged periodically (by default once every 10 days).
Conclusion#
Although these steps are relatively straightforward once you’ve figure out how to do it, it is surprising this is not possible to do directly from the UI given how common a problem this is.
If anyone knows of a better way to do this, or knows of plugin/add-on that makes this easier, let me know.
Comments
Comments by giscus, use a GitHub account to comment.